Working with Images
The Asset Library
Images exist within the CMS within an Asset Library. Once an image is uploaded (via a document), it will be added to a “bucket” with all other images. This helps keep the website quick and also allows us to reuse images if we choose.
When we set an image on a document it is added to the Asset Library and then the Image field becomes a reference field to that image. This is similar to how we link other reference fields, the difference being that we do not have direct access to the Asset Library via the Sanity CMS.
Adding Images to Documents
There are a number of Document Types that support adding images.
When creating or editing a document that supports an image you’ll see a fields that looks something like the one below:
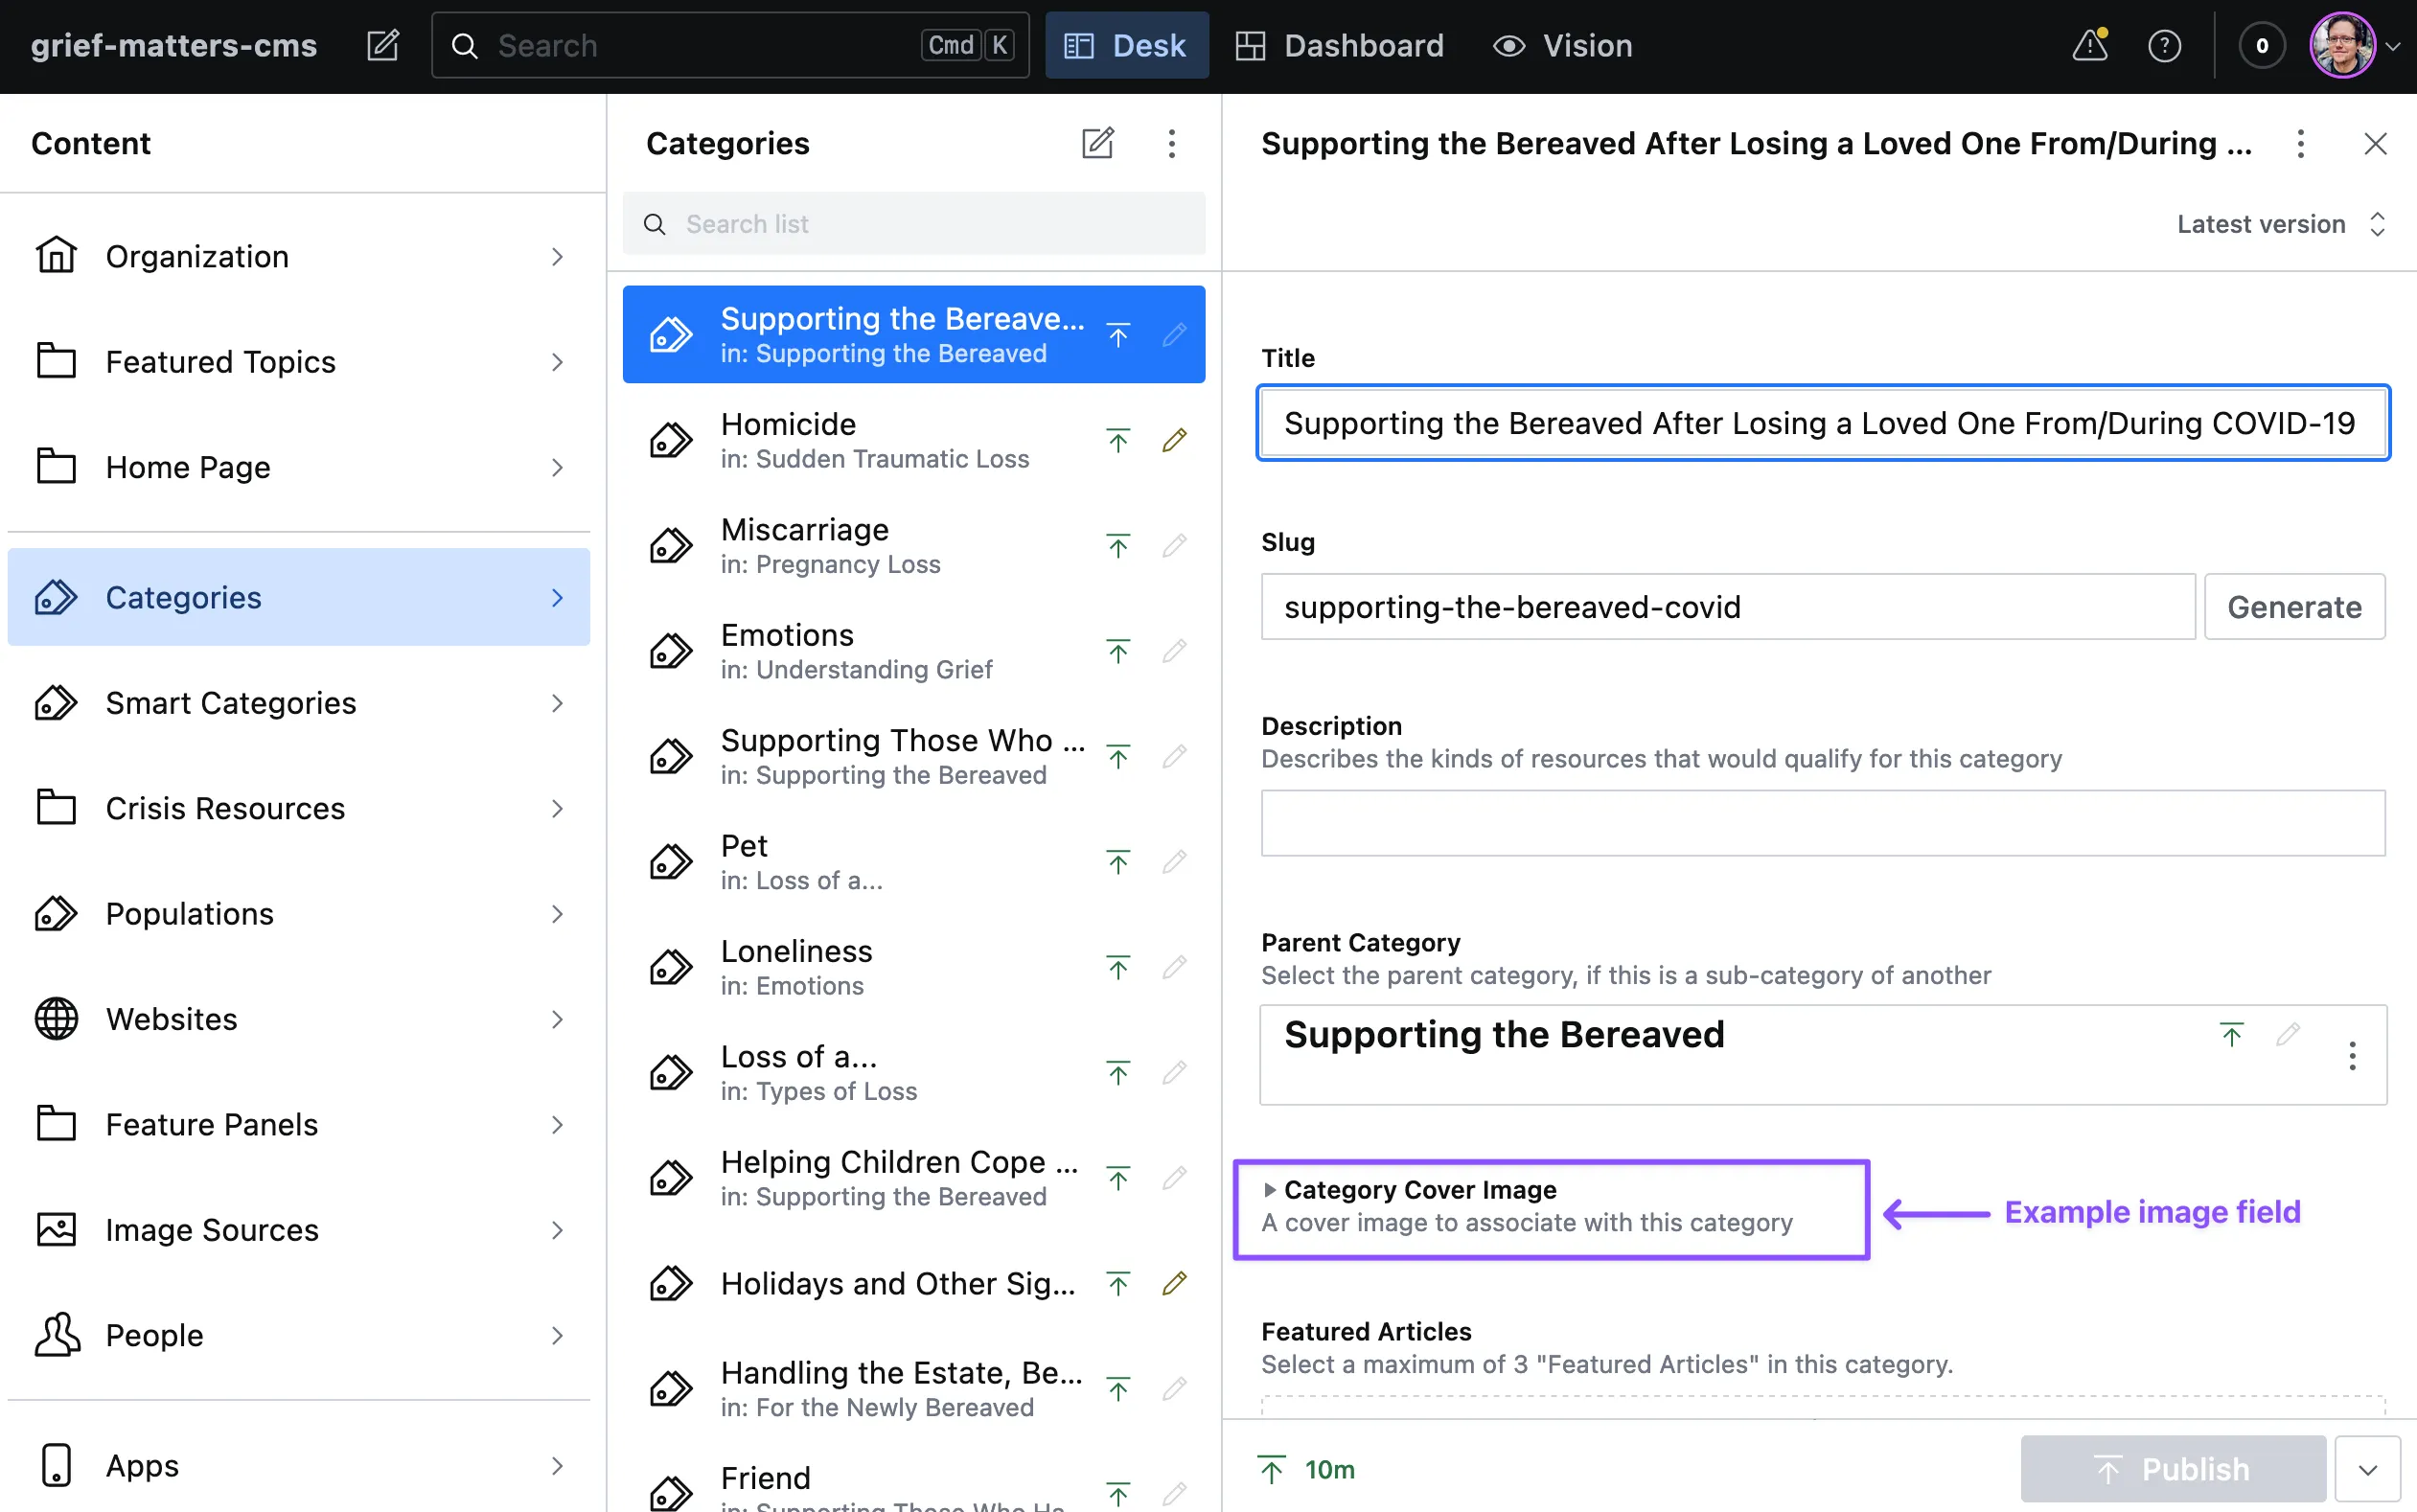
The field is usually collapsed by default to avoid cluttering up the editor. Once expanded the field has a number of sub-fields you’ll complete in the process of uploading an image. If this is the first time using the field on this document some of these fields will be hidden until an image has been uploaded or selected.
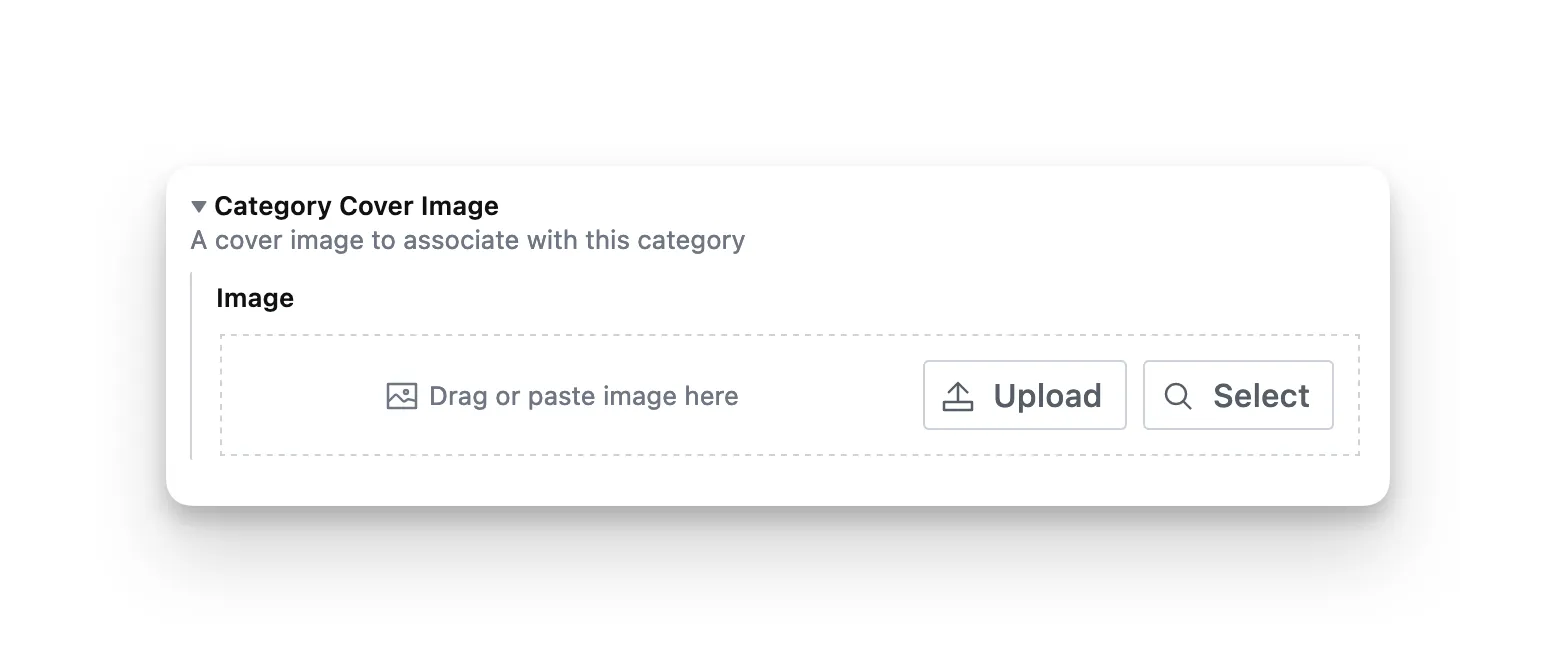
To set the image you can either select;
- Upload, which will present the file picker for your device
- Select, which will allow you to choose from any images previously uploaded to the CMS
- Drag or paste, which allows you to drag an image from your device (for example, the desktop), or paste from your clipboard (for example, if you right-click copied straight from another website).
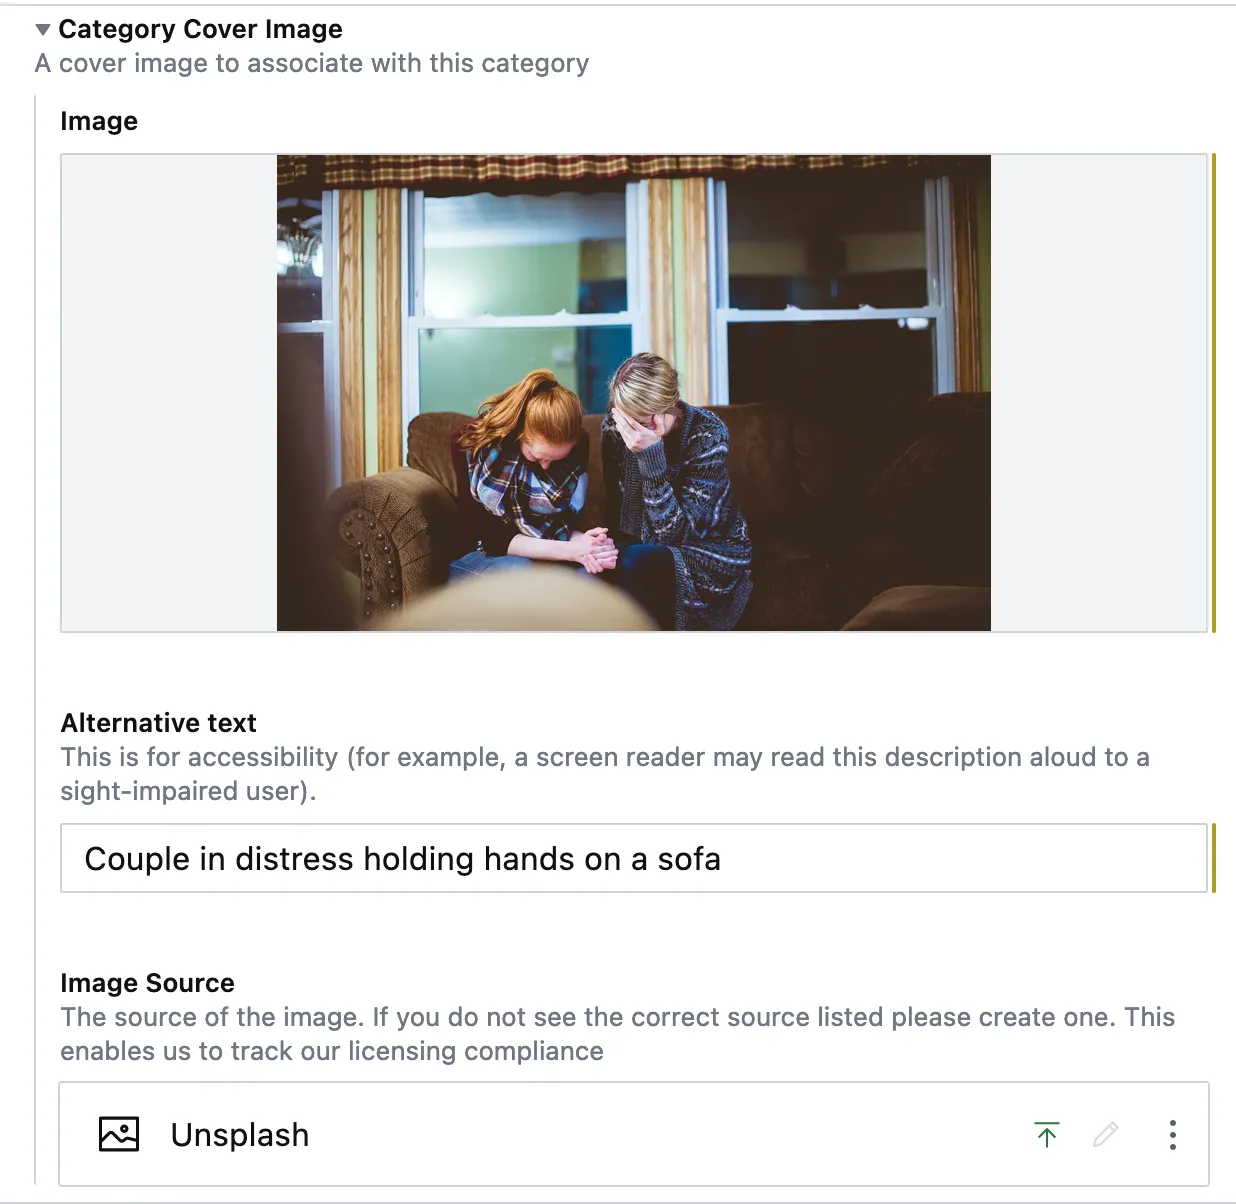
Once an image has been set a few more fields will appear:
- Alternative Text should be set for accessibility reasons. Images are a big part of the Why Grief Matters website and those unable to experience them should be given alternative descriptions that can be read aloud by a screen reader for example.
- Image Source is a Reference Field to an Image Source document.
Once you’ve finished completing your image field it should look something like below:
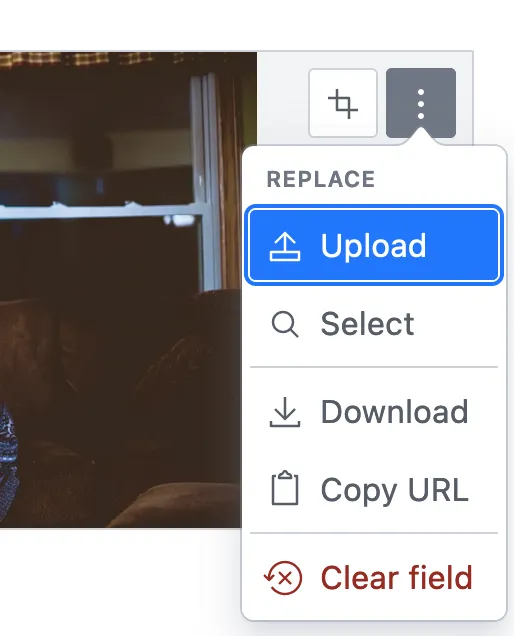
Replace or Remove an Image
If you want to replace an existing image please select the ellipsis found in the top-right corner of the Image field. You can also use the Clear Field option if you no longer want an image on this document.
Art Direction
There are also some “Art Direction” options available on the image field. Located next to the ellipsis button is a ‘crop’ icon. Selecting this will show you a “Edit hotspot and crop” modal.
Hotspot
Selecting a hotspot essentially selects the ‘center’ of the photograph, meaning that if we need to alter the aspect of the photograph for the website (e.g. changing from landscape to square) the main subject remains centered in within the frame.
Crop
Changing the crop will alter which part of the image is rendered by the website. Any part of the image that is cropped out will never be seen on the website.
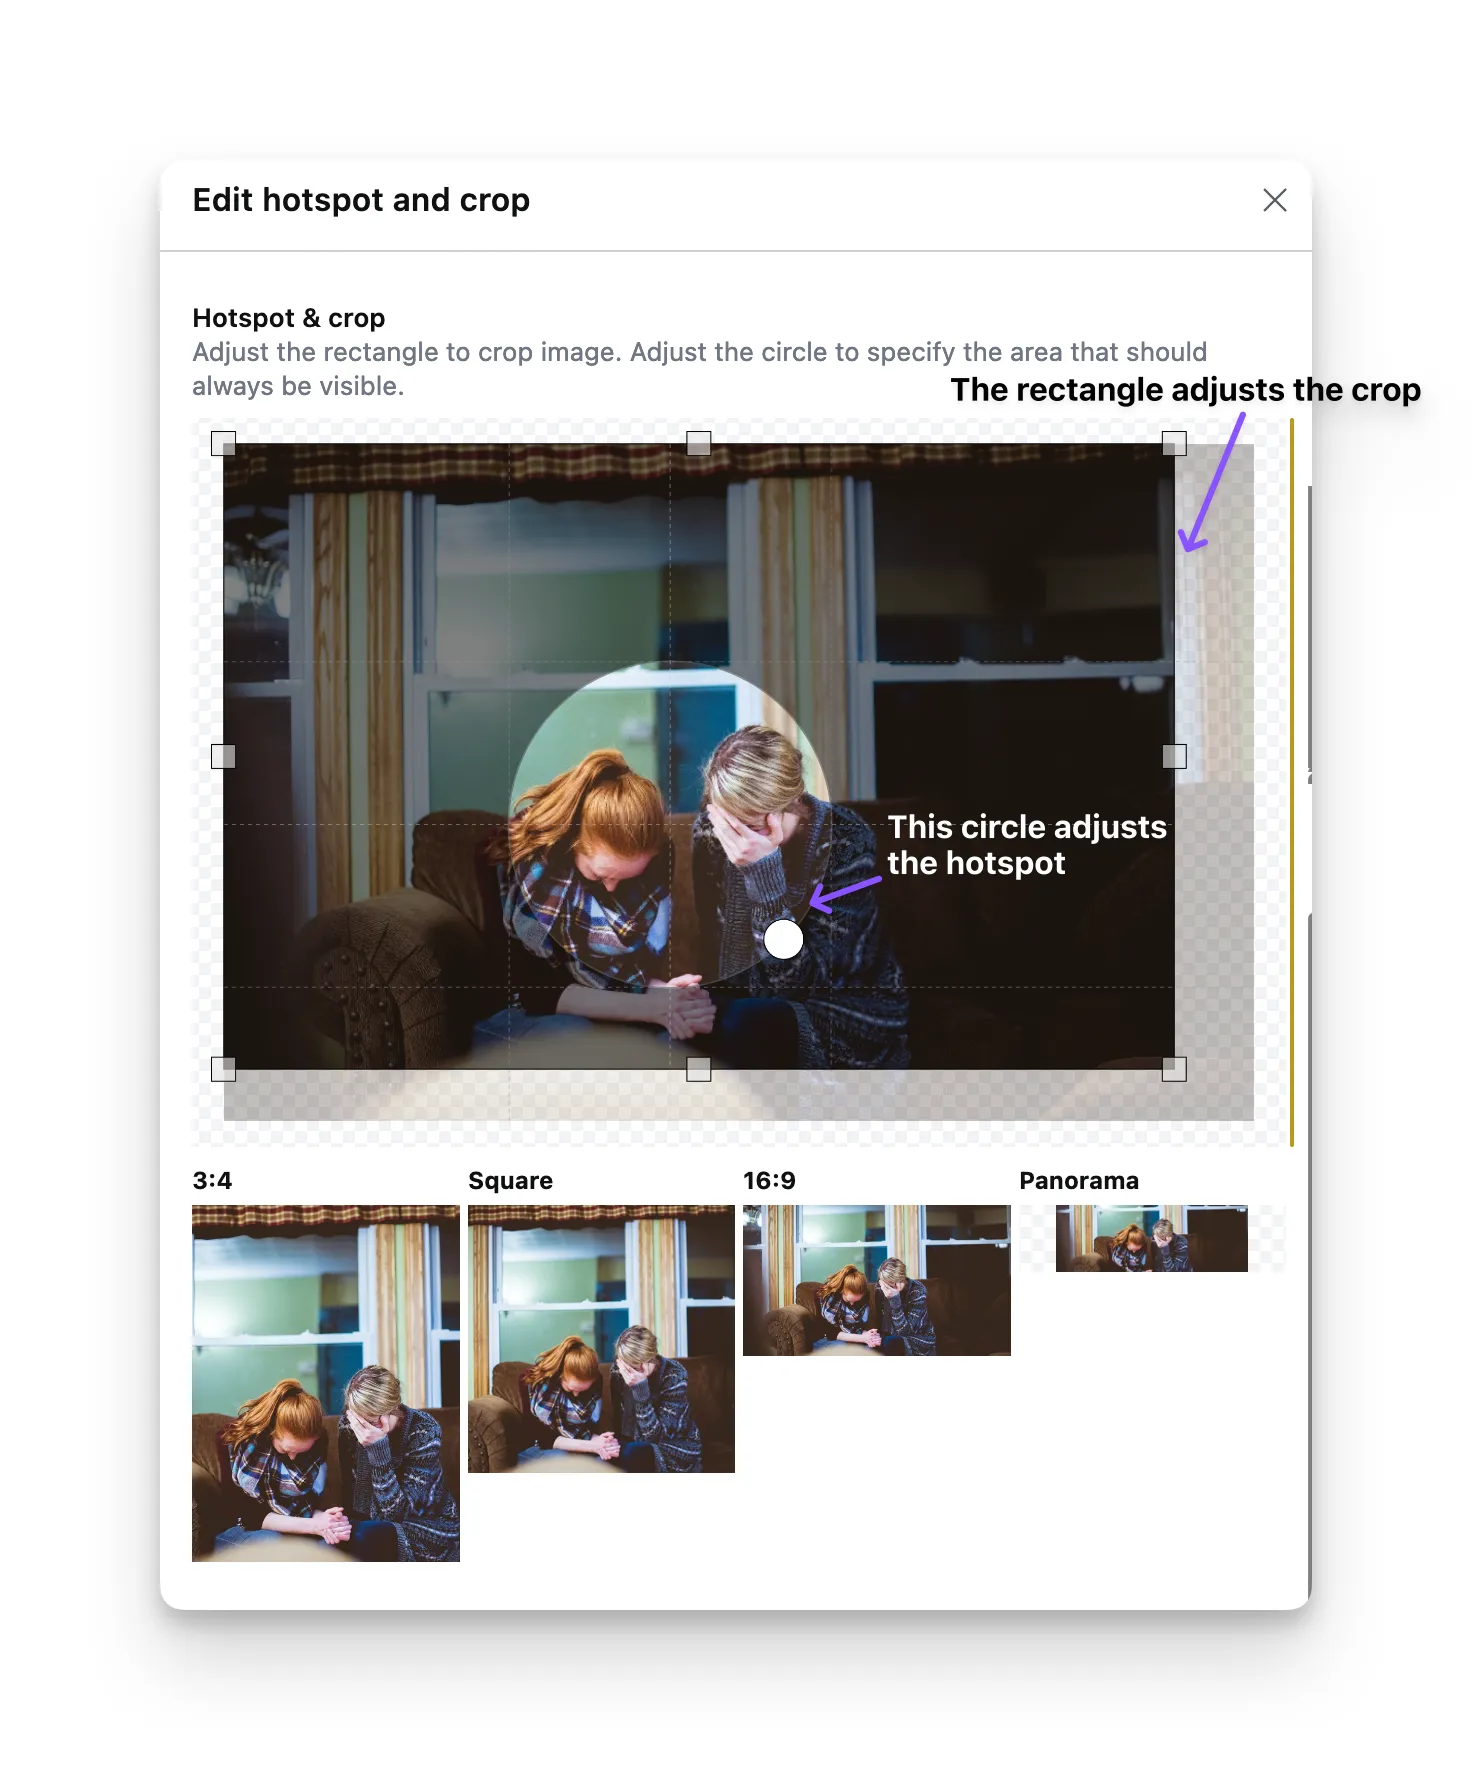
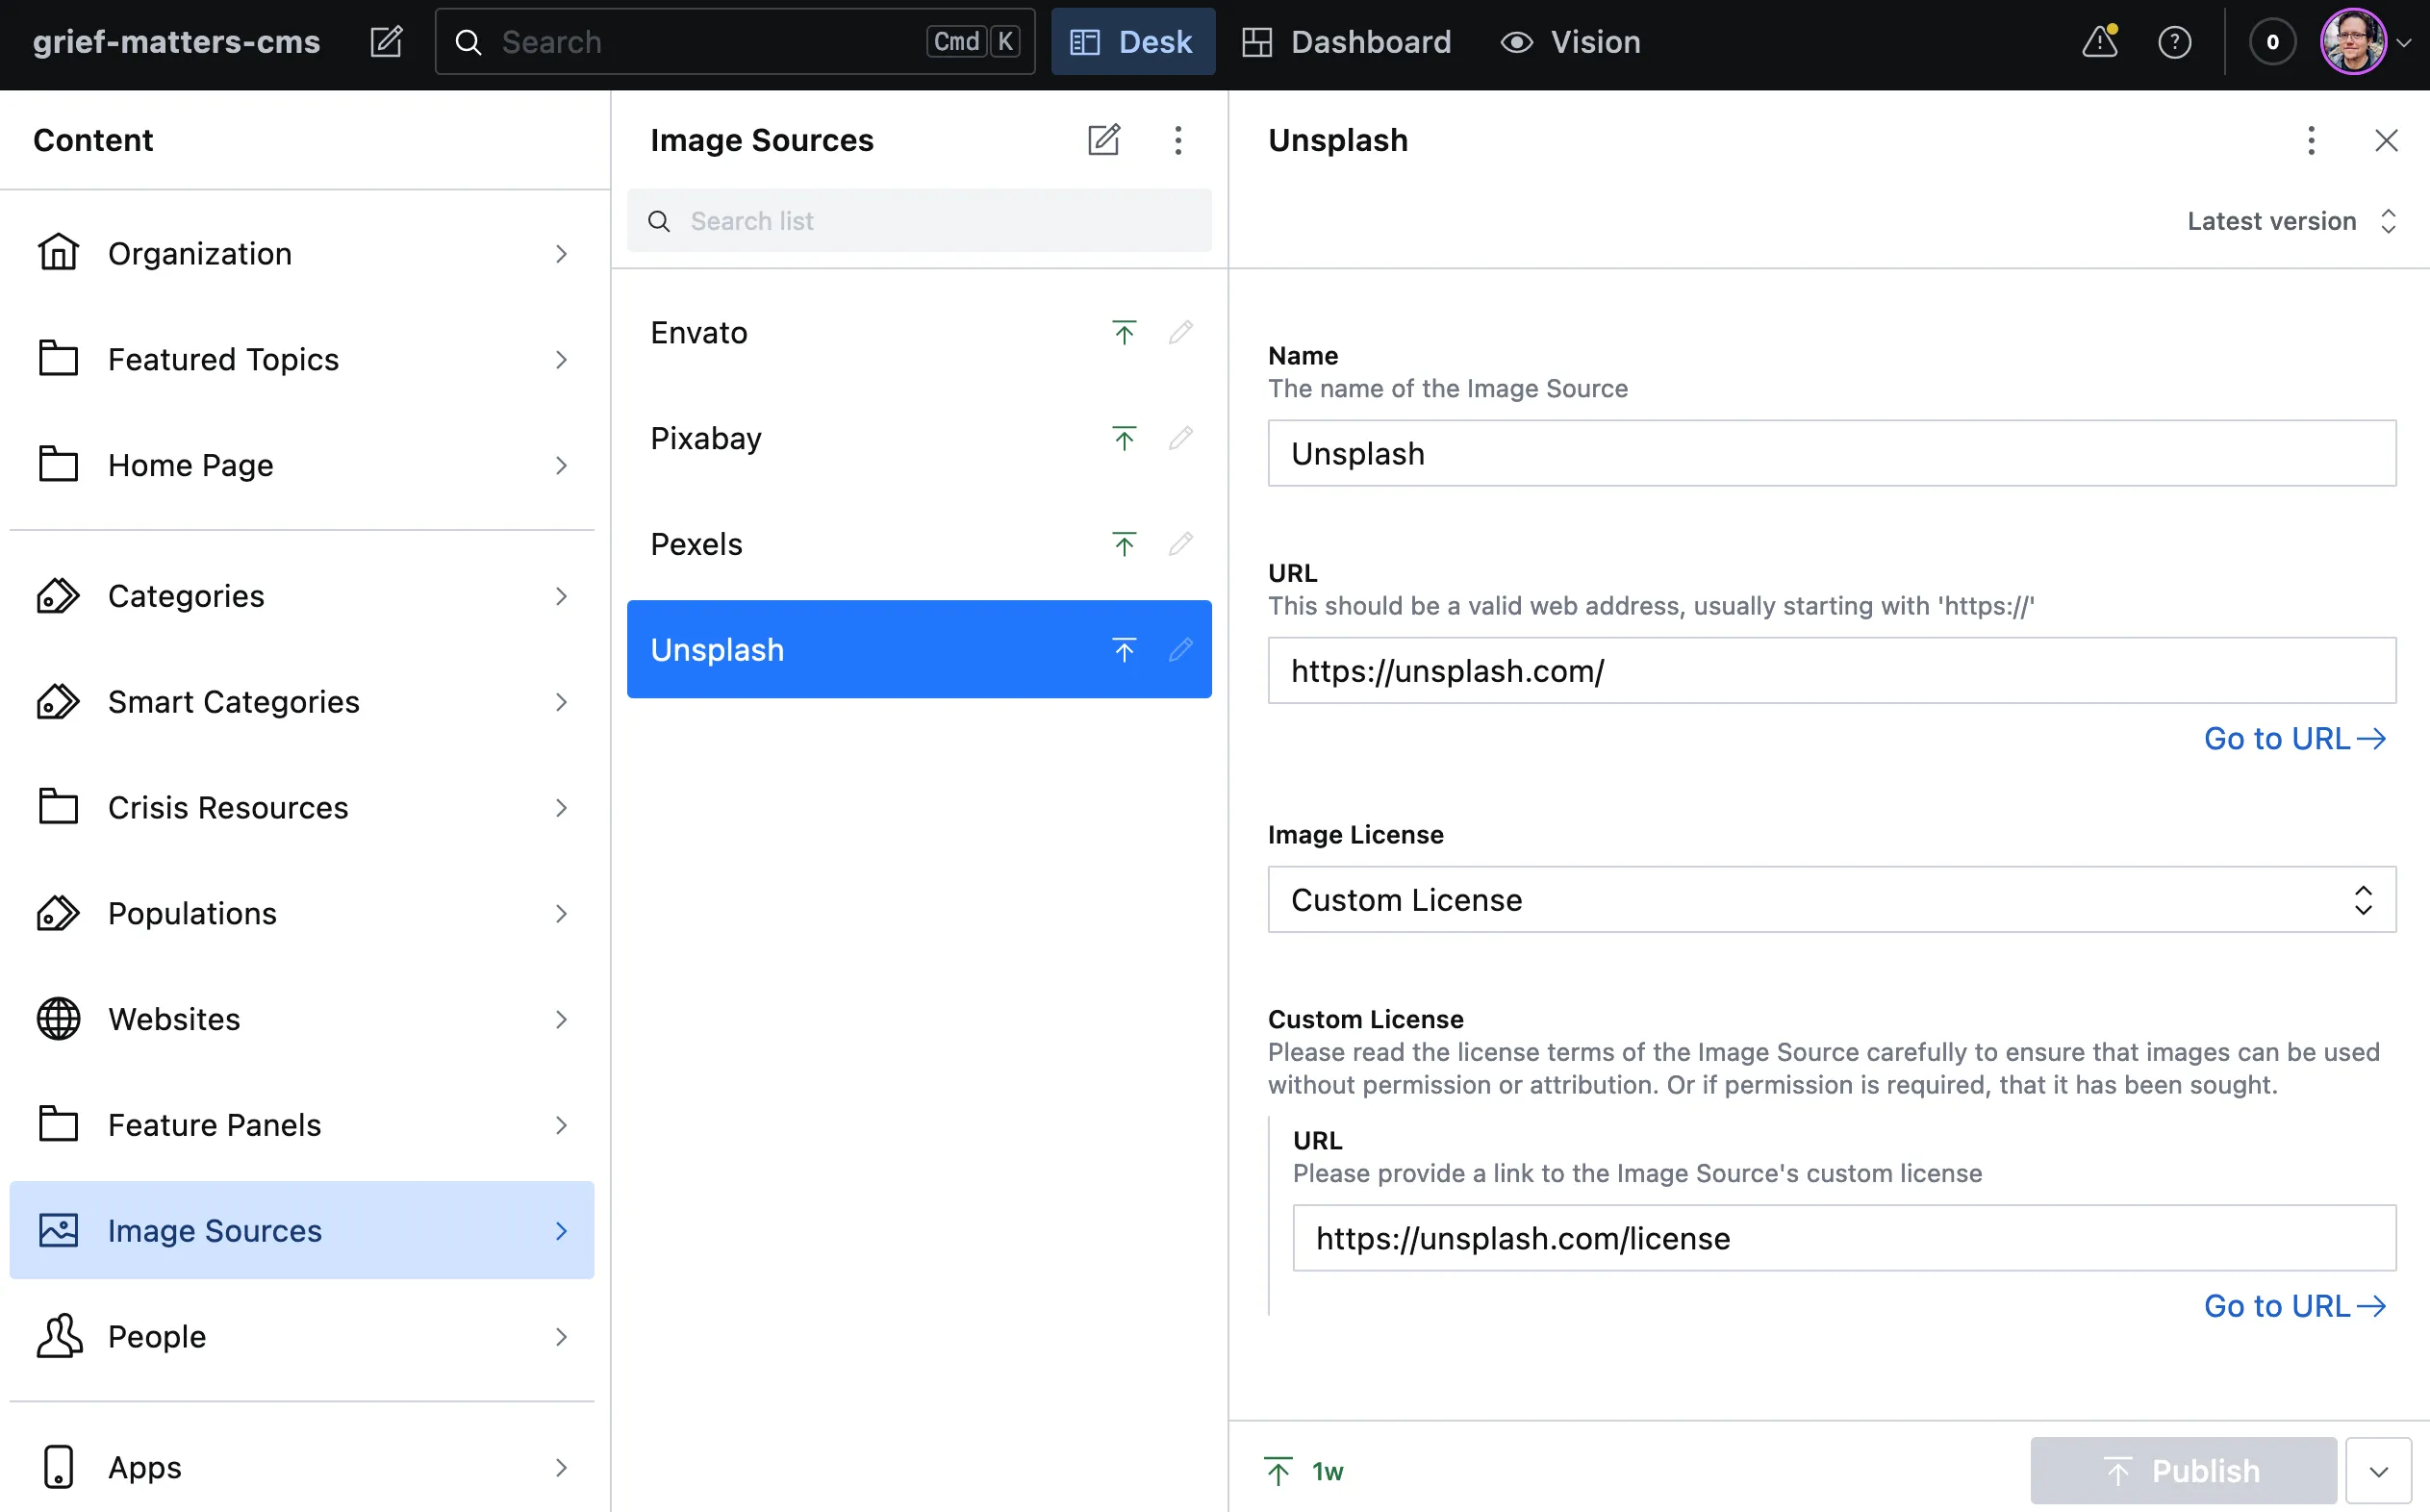
Image Sources
It is incredibly important that we track where our images have been obtained from. Whilst this information will not be used on the website directly, it may be required if we receive a take-down request or other copyright complaint.
Image Sources are created like any other document type.